Custom Report Fields

Custom Report fields are custom fields that can be added to an appraisal field set to add to the final report.
To start a custom field, click on Custom Report Fields on the setup tab.
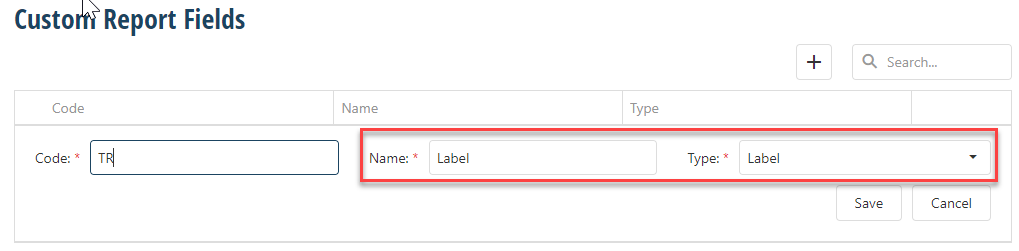
Click the + sign to add a new custom field.
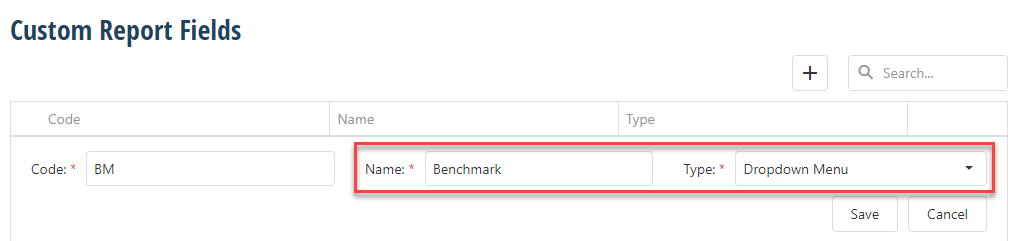
There are required fields of Code, Name, and Type.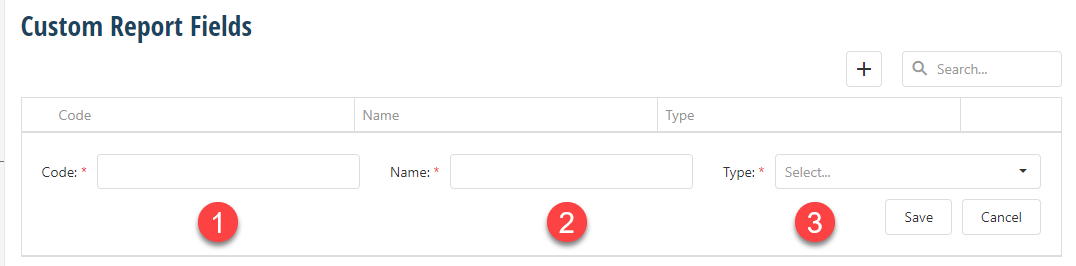
1. Code is the field that will be used to call the field into a custom report template.
2. Name is what will show in the valuation under the Custom tab.
3. Type dropdown allows for the selection of what type of field the custom field will be.
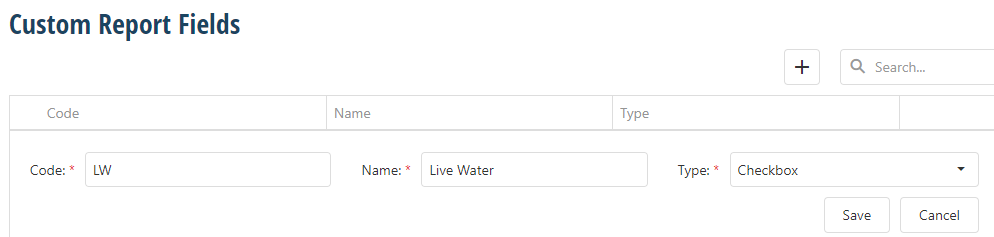
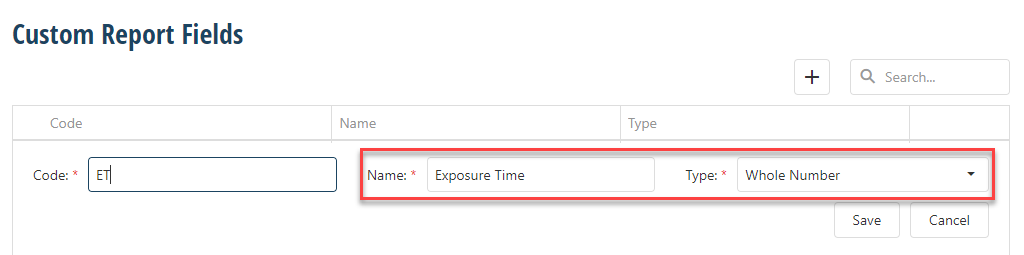
After clicking the plus sign, Enter the Code (shorter codes make it quick to add to the report template). Enter the actual name of the field as it will appear in the custom tab of the report.
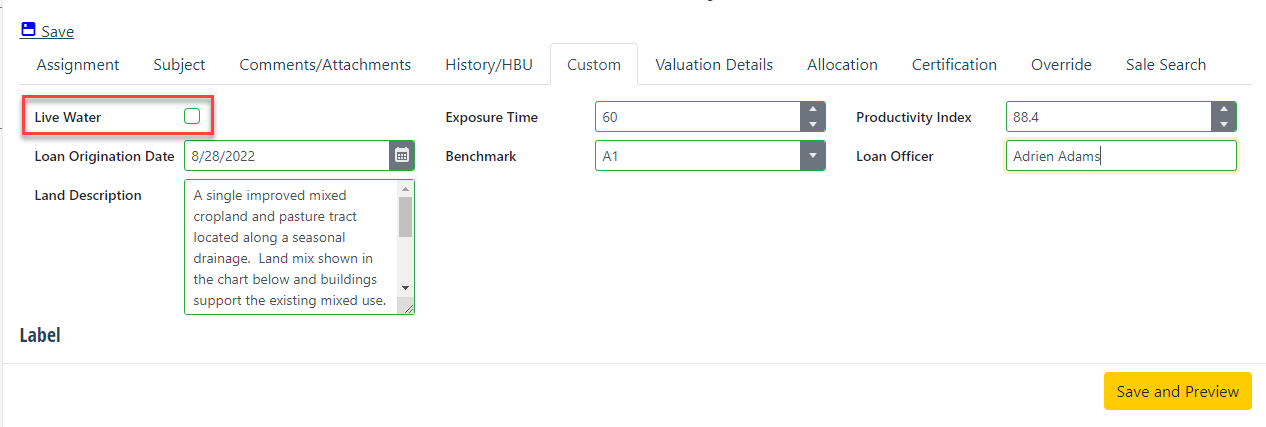
When a valuation is run the custom tab will contain all the custom fields set in the appraisal field set for the given model.
This section is an explanation of the dropdown for the type and how it will be displayed in the report.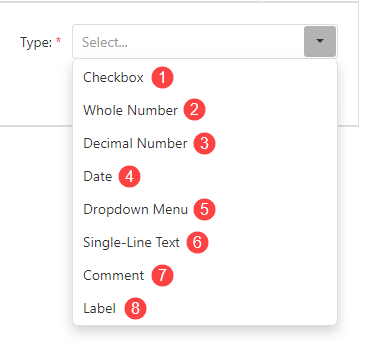
1. Checkbox.
It will look like this in the valuation.
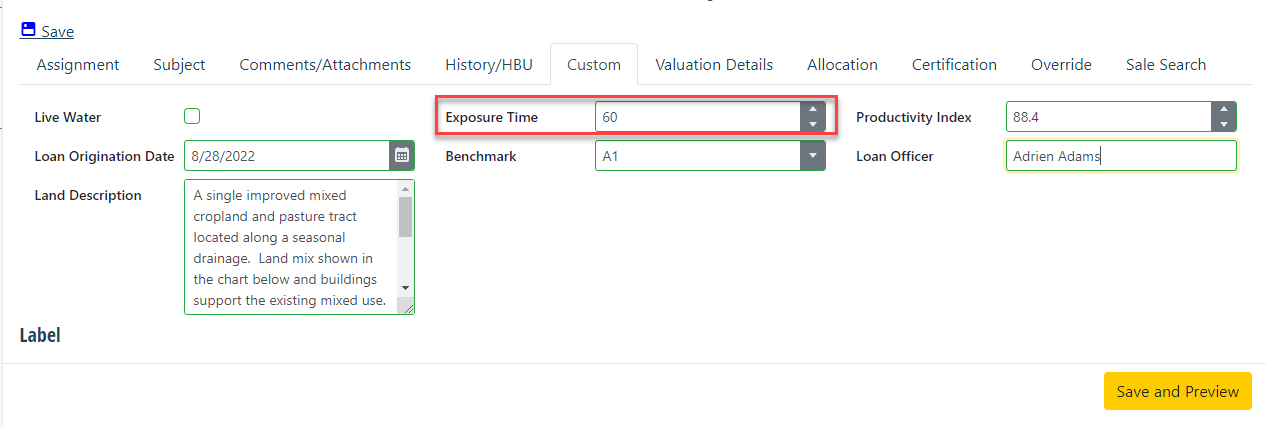
2. Whole Number
It will look like this in the valuation
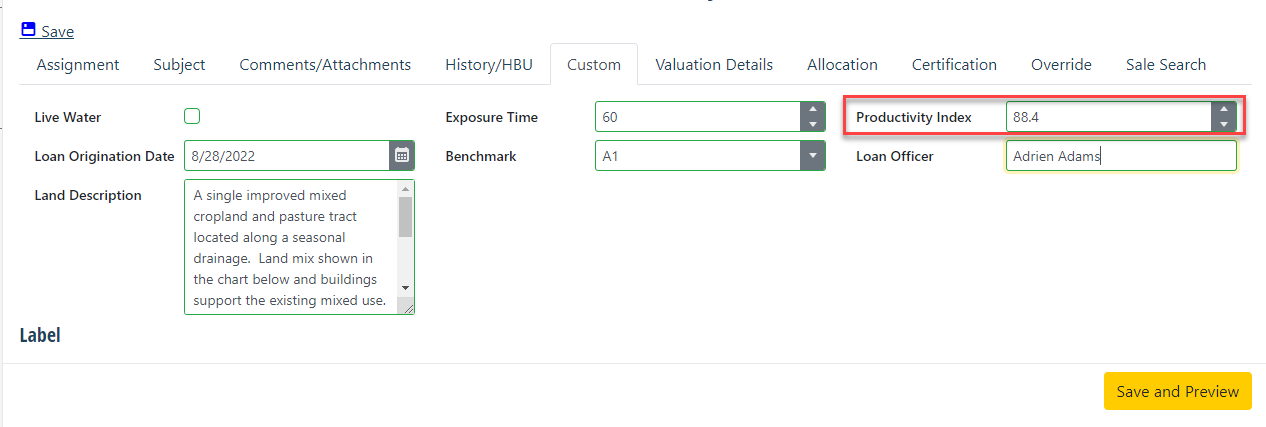
3. Decimal Number.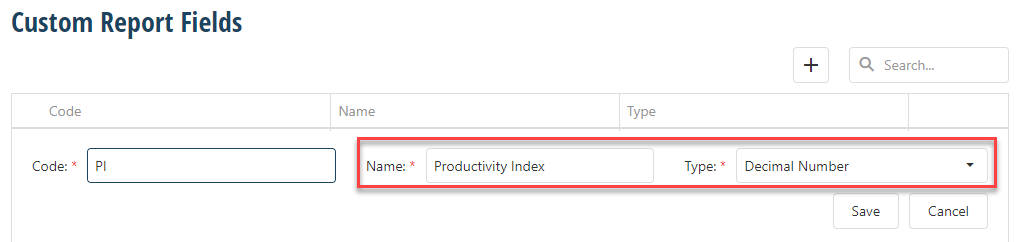
Will show as this in the valuation.
4. Date.

Will appear as this in the valuation.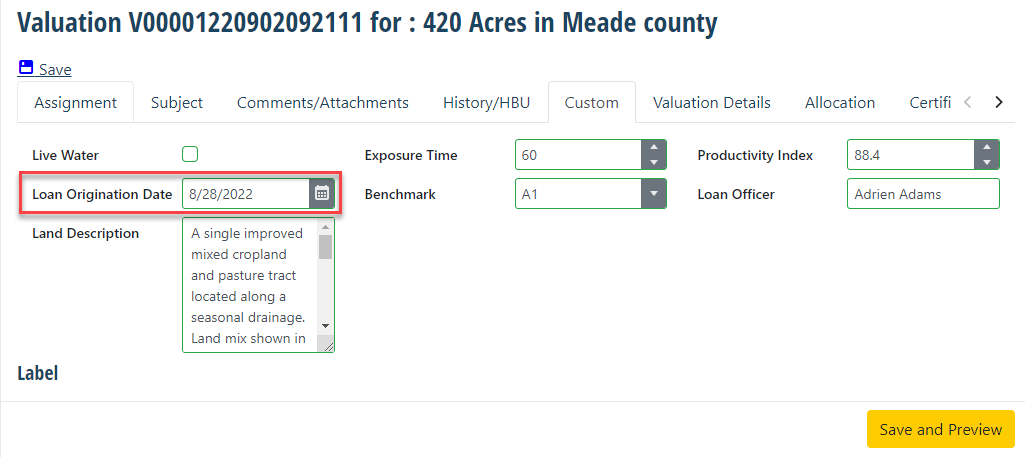
5. Dropdown.
Once a field has been set to dropdown and saved, a caret will appear to add items to the dropdown list.

Clicking the caret will expand to Show the dropdown list options. Click the plus sign to add items to the dropdown list.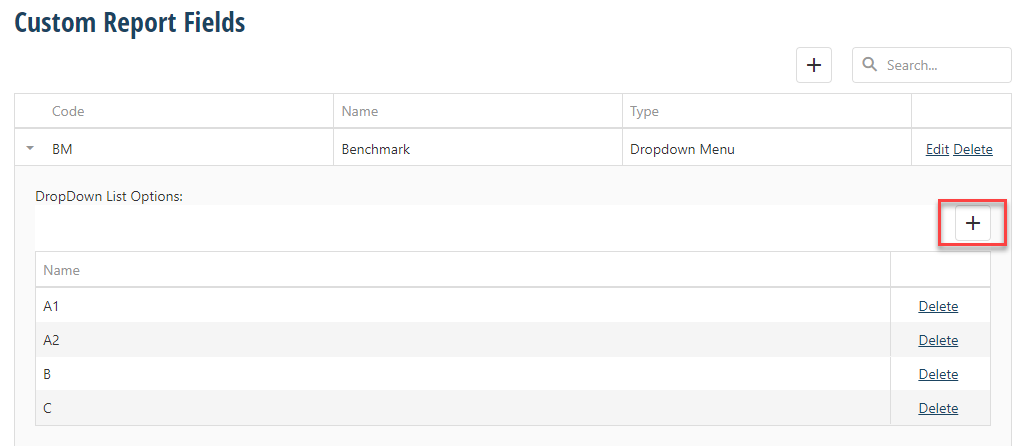
It will appear as this in the valuation.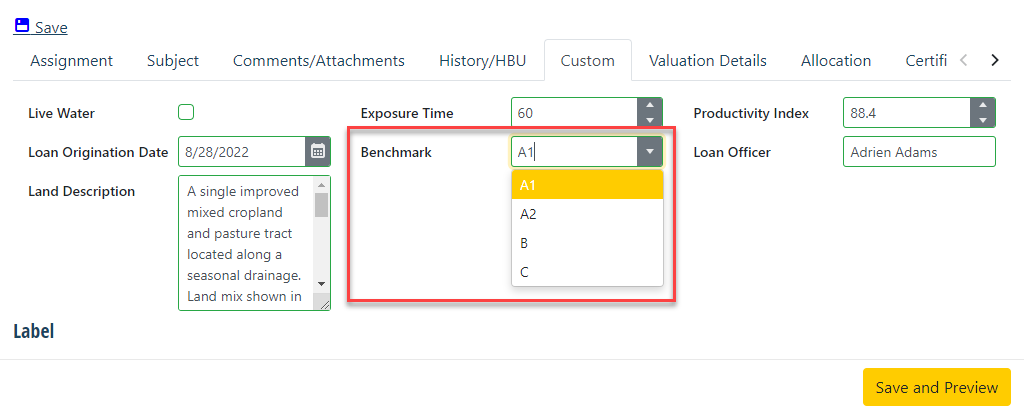
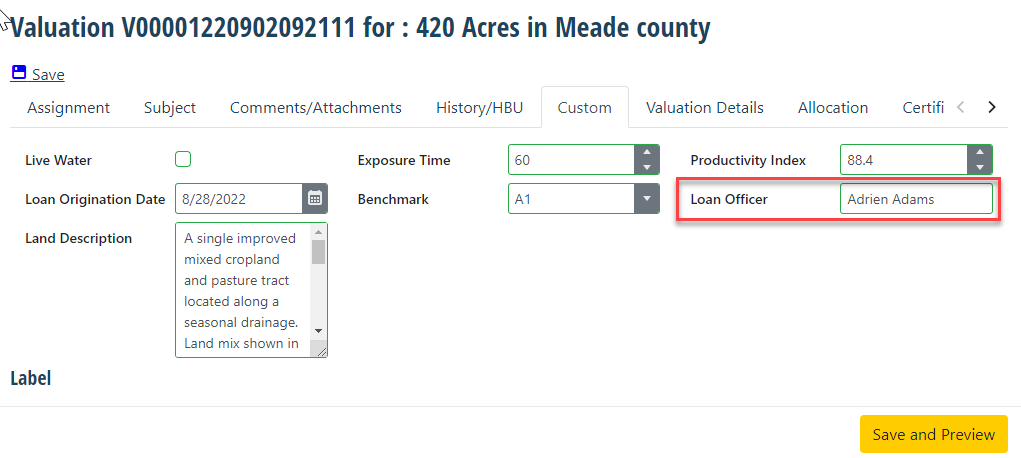
6. Single line text.
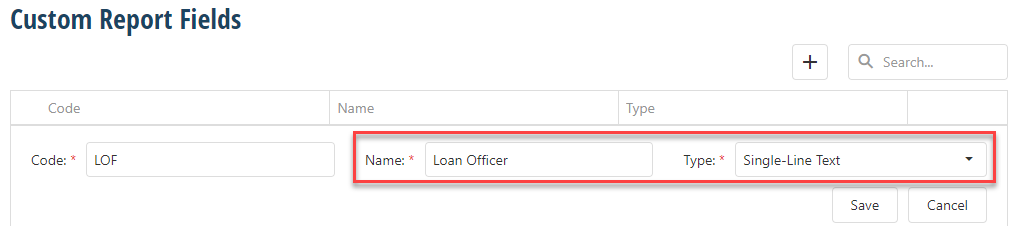
Will appear as this in the valuation.
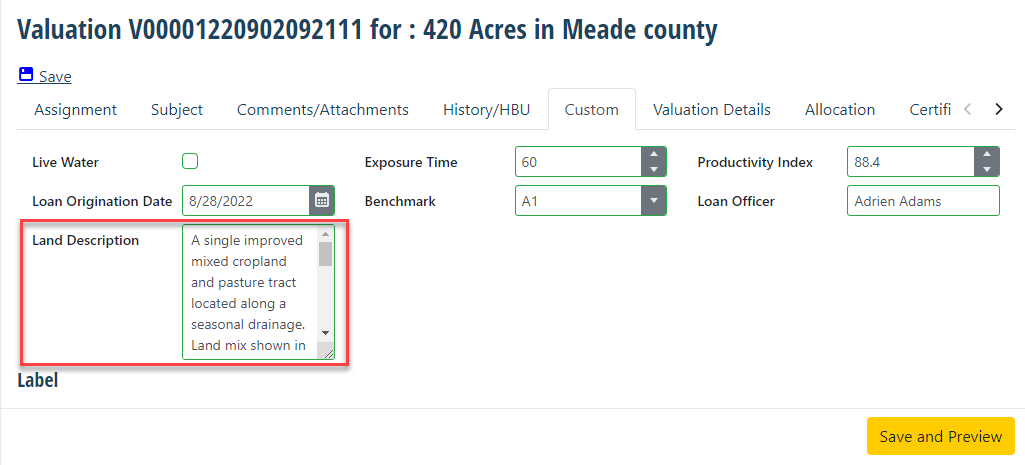
7. Comment.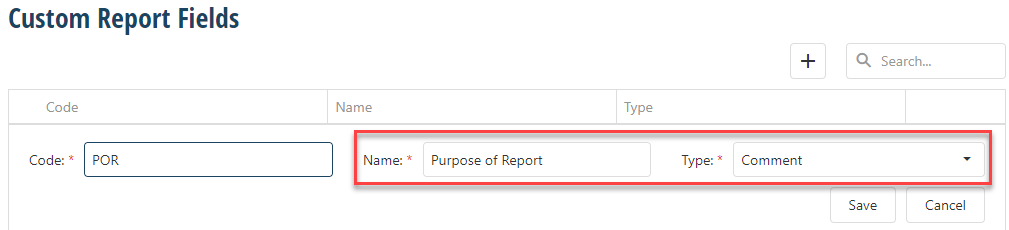
Will look like this in the valuation.
8. Label displays a label in the valuations custom tab.
Will appear as this in the valuation.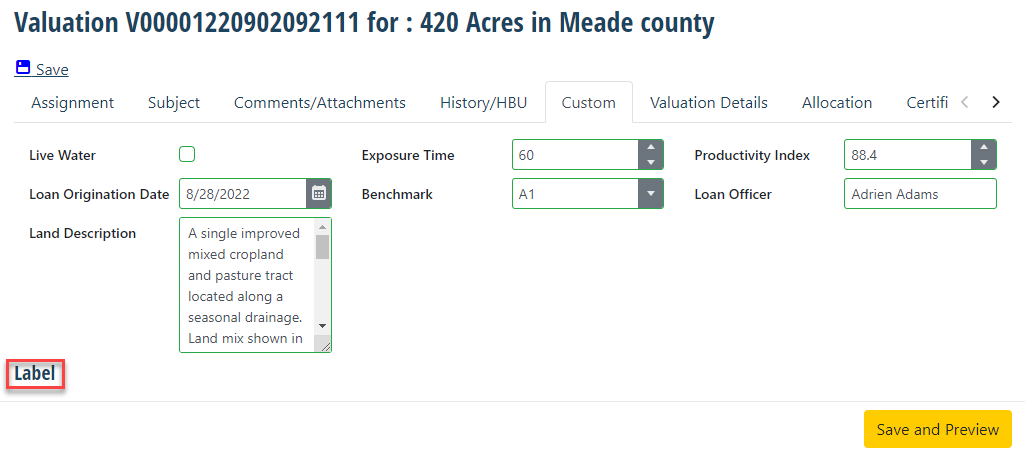
Once all of the custom fields are added, they will need to be added to a custom field set. For more info on custom field sets see Custom Field sets section of the help documentation.
For the custom field to be added to the valuation, a custom field set needs to be added to a the model being used.